Assignment No. 3: Reflection
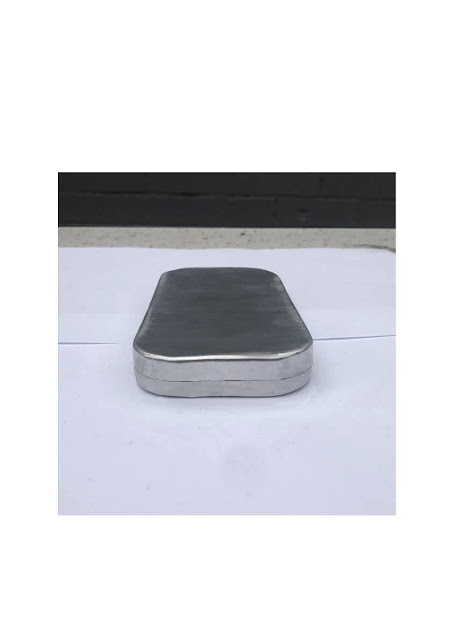
BEIL0014 Digital Making Assignment No. 3 - Reflection The first shaping exercise brought many challenges, however, it also allowed me to learn many skills and techniques that I would later utilise in the following shaping exercises. The making of the bowl comprised of three simple steps: Step 1: Laser cutting The laser cutter was used to cut a template for the bowl and a radius gauge that was used to help guide and evaluate our progress. Step 2: Shrinking and stretching the metal. Using tools such as a nylon hammer and a sandbag the metal could be manipulated to create the shape of a bowl. Step 3: Planishing Using an English wheel the surface of the bowl was smoothed and flattened. During the process of making the bowl, there were many things within the above steps that I did well and many things that I would approach differently after completing the final assignment. The things I would approach differently would be: The amount of time I ...


Comments
Post a Comment