Assignment No. 2: The Fuel Tank
The Fuel Tank
INTRODUCTION:
Assignment 2 required us to work within groups to create a full-scale motorcycle fuel tank. Firstly we were first tasked to create a 1:1 scale template replicating one of the motorcycle fuel tanks supplied. To do this we would utilise software such as Rhino, Autodesk, and Fusion360. Following the construction of the 3D template, we were tasked to individually create an aluminum skin that would adhere to a third of the templates contours.
PROCESS:
Step 1:
We measured key points on the existing fuel tank and utilised Rhino to create a 3D virtual model of the chosen fuel tank.
Step 2:
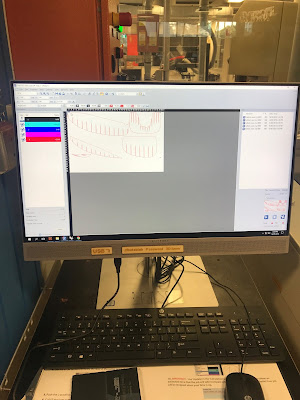
Using Fusion360/Autodesk Slicer we imported out Rhino stl. file and prepared the model for laser cutting by adjusting the size of the fuel tank and altering the thicknesses of the plywood joints.
Step 3:
Fusion360 generated template boards (400x800mm) to be laser cut, however, the boards did not utilise material as efficiently as possible. Using Adobe Illustrator we manually relocated each template to best fit the plywood board. After this was complete the template was laser cut in the FabLAB.
Step 4:
After the template had been laser cut we used masking tape and PVA wood glue to help assemble the laser cut template. After the template was fully assembled we covered the exterior surface in masking tape to make it easier to trace our paper templates later on.
Step 5:
Using the assembled template we sketched marking outlines on to the surface to divide it into thirds. We then lay sheets of paper over the template, roughly traced out each section, and then cut out the shape.
Step 6:
Using the paper stencil each team member could lay the stencil out on a sheet of aluminum and cut out an accurate length using the shears and tin snips to begin shaping the fuel tank.
Step 7:
Shaping the metal. To begin our group used the stump to mold the aluminum sheet over to create a gradual bend to resemble the taper of the tank. Using a nylon mallet and sandbag I began shaping the top of the piece. After creating the rough shape of the side of the tank I began using the English wheel to further refine the shape of the piece. Throughout the shaping process, I continually used the laser cut template to ensure that I was shaping the correct profile for the fuel tank.
To finish the piece I used a fine grit wet/dry sandpaper and a cutting compound to remove any shallow scratches and clean up the surface of the metal. I then placed the final shaped metal piece onto the laser cut template and photographed it.


Comments
Post a Comment